Survival Water Filter
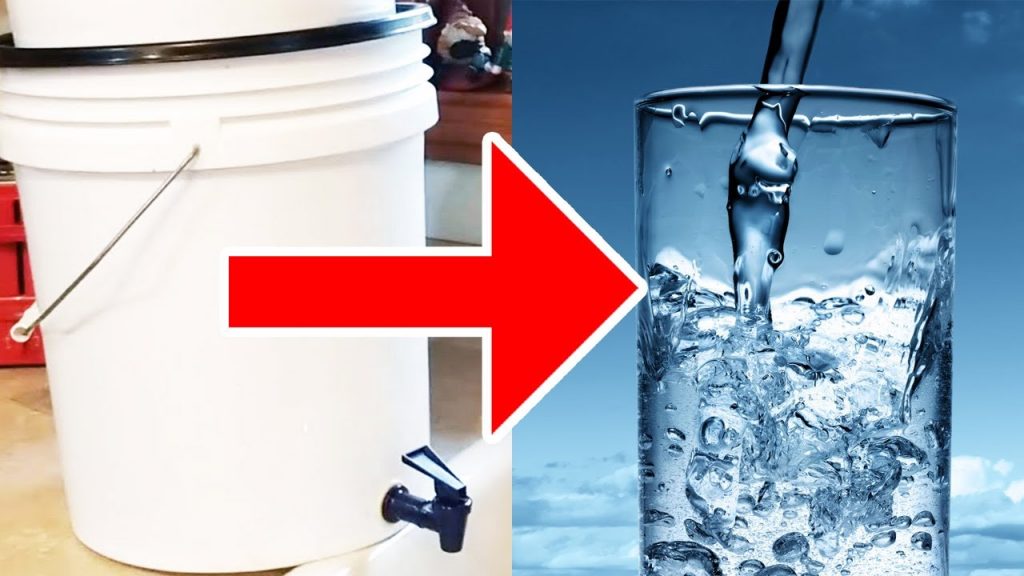
In times of emergency, one of the most necessary survival food is having clean drinking water for you and your family. Without it, your hopes of survival can deteriorate quickly. However, this does not have to be the case. A man-made water filter can produce clean drinking water for you.
Making a survival water filter is not as daunting to make as you might believe. To be honest, it is quite simple.
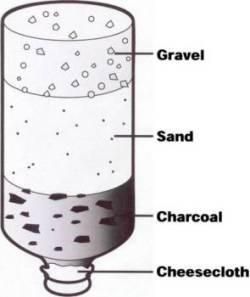
Contents of a Survival Water Filter
To make a survival water filter system, there are very few ingredients. All that will be needed are:
- Sand
- Rocks
- A bucket (5-gallon bucket)
- A clean container (cup, glass, bottle) to collect the filtered water
You can get these items, the sand, the rocks (stones), and a bucket from your local hardware store. You may not have to spend any money for that matter.
If you live in close proximity to a beach, you can get the sand there. Just remember that because of the saltwater you will have to run the water through the filter several times to get rid of the salt.
The rocks or stones you can gather from in and around your house or neighborhood. The stones need to be of different sizes and shapes.
The bucket can any container big enough to hold the sands and rocks. A two-liter soda bottle can also be used.
Construction of the Survival Water Filter
To make the survival water filter first make sure to gather all of the materials – sands, rocks or stones, and container bucket or bottle. You will also need to have handy a cup, glass, or bottle to collect the clean filtered water.
- Steps 1 – Punched 3 holes into the bottom of the bucket using a survival knife, a drill, or some kind of sharp-pointed object.
- Step 2 – Place a piece of clothing at the bottom of the bucket. This can be a piece of shirt, towel, etc. Whatever you can afford to rip apart.
- Step 3 – Pour the stones/rocks into the bucket to make a layer of rocks
- Step 4 – Pour the sand into the bucket to make a layer of sand. You can pour as much as you want. The more sand that is put in to make the layer of sand the better the filtration will be.
- Step 5 – Make another layer of stones on top of the sand.
 When you are finished adding the contents into the bucket or bottle, you will need to place it on a chair with no seat or hang it up. The key here is to get the bottom of the bucket of the floor so the filtered water can be easily collected. After you have secured the filter in a position that the bottom of it is accessible, place a cup, glass, or bottle underneath it to collect the filleted water.
Now you are ready to filter the dirty water.
Begin by pouring the dirty water into the filter bucket. The filtered water will begin to flow through each layer of rocks and sand than through the holes and into your collecting container. Runs the water through as much time as possible to get it to your desired water clarity.
At this point, the water is drinkable. However, we advise and strongly recommend that, if at all possible, boil the water to kill any germs and or bacteria that may be present.
As you can see, building a survival water filter system is very easy. It only takes a few ingredients and a 4 steps process to get from dirty water to drinking water.

