Starting a Fire: Methods and Tools
You probably have a basic understanding of what’s important in a survival situation—shelter, water, and food, but one of the most important things to know in a survival situation is how starting a fire can be achieved. You may not always need a fire, but it can sure make a world of difference in the right survival situation. Fire can come in handy for purifying water, keeping you warm, cooking your food, signaling your position, and more. There are some fire-starting products that can make your life a lot easier while you’re camping or in a survival situation. Take a look at a few of them.
Rod and Striker
Contents
You may be a little less familiar with this method of fire starting if you haven’t spent much time outdoors. It’s a pretty simple method though.
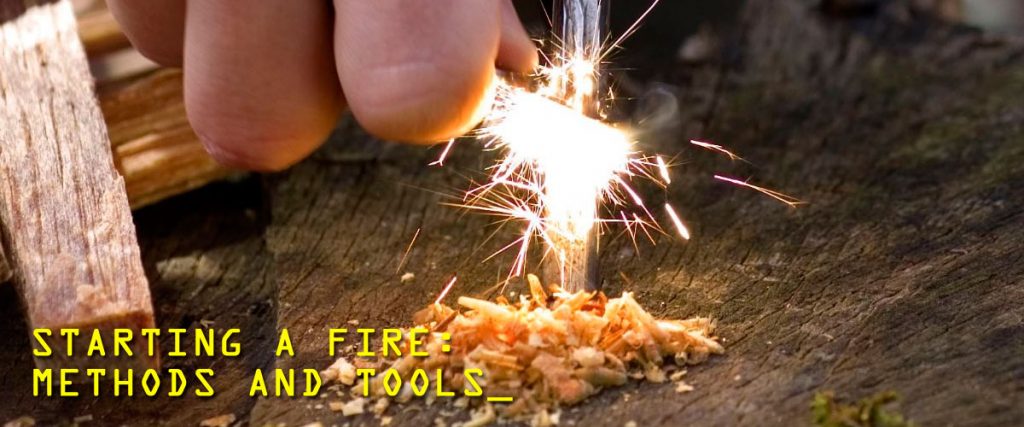
All you have to do is scrape the rod quickly and forcefully with the striker over a small pile of tinder or another flammable material until a spark successfully ignites the tinder. You may have learned to use a rod and striker once upon a time in scouts or elsewhere, and it’s a great fire-starting method.
Lighters
Lighters are probably the most commonly used tool for starting fires. They’re easily accessible, very affordable, and take close to no effort to use. The lighter pictured is one of my favorites. It’s very compact—you can get it in the 1.89-inch length or the 1.30-inch length, so it’s a great size for attaching to a key ring, camp pack, or anywhere else you attach things. The top of the lighter opens up and allows you to add in your own lighter fluid. Honestly it’s a really sleek lighter that will last a long time and is very travel-friendly.
Matches
Matches—they can be used for lighting the candles on a birthday cake, but they can also be used to start a fire in a survival situation. If you’re going to use matches to start a fire, it’s obviously important that the matches stay dry. Match cases are a great way to keep your matches dry. The match case pictured above holds matches in addition to extra o-rings and extra match strikers. This match case can hold up to 20 regular kitchen matches (less matches if you’re using a larger type of match).
Batteries and Gum Wrapper
I don’t know if you’ve seen the TV series “Running Wild with Bear Grylls,” but I’ll admit I’ve seen it a few times. It’s kind of interesting and not everything on the show is worth putting stock in, but there is one method Bear uses to start a fire that was actually pretty intriguing. It is what I like to call the “battery and gum wrapper method.” I’m sure that’s its technical name.
There are a few different ways I’ve seen it done, but basically the battery ends need to be touching the gum wrapper. It’s a bit hard to explain, but here are a couple of videos that show some different methods for achieving fire this way:
There are other basic, more primitive methods for starting a fire that you’ve probably heard of. A lot of these other methods use friction in different ways to achieve making fire. These include the fire plow, hand drill, and bow drill methods.
Friction methods of fire starting require lots of effort and can tire you out easily. But, if you’ve got no tools with you, you can easily make your own fire with any of these friction methods.
Fire Plow
Visually, the fire plow method is sort of what it sounds like. Basically, you make a long groove in a piece of wood. Then, you move a long, thin piece of wood back and forth quickly and roughly on the groove. I’ve never actually tried this method, but it seems like you’d probably want the larger piece of wood to be relatively flat so that it’s not rolling all over the place while you’re trying to start your fire. Once you’ve got a spark or small flame, transfer it to some tinder and use that to get your fire going.
Hand Drill
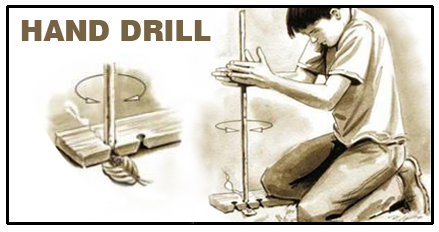
This is the friction fire-starting method I was most familiar with before doing any research. Like the fire plow, you have a larger, base piece of wood and a second piece that’s long and skinny. Instead of using the stick like a plow, though, use a different motion. You first make a notch in the base piece of wood and place the skinny piece directly on top of it, standing upright. Then you spin the thin piece of wood between your hands over, moving down the stick and then starting from the top again, and over until you make a spark. Then transfer it to some tinder.
Bow Drill
The bow drill method is basically the same as the hand drill, except you use a literal bow-like tool to help you and keep your hands from tiring out. As you can see from the picture above, you can make a bow with just a stick and some rope. You’ll need to have some wood with a socket in it so that you can put pressure down on the thin piece of wood that will be moving. Tie the rope to one end of the “bow,” wrap it once around the wood that will be upright, and tie the other end of the rope to the other end of the bow (use the picture above as a reference). Then move the bow back and forth while pressing down on it with your other hand and the socketed wood until you get a small flame, just like with the hand drill. Again, then you transfer the flame to some tinder and you have the beginnings of a fire.
I didn’t want to get too complex with this post, but hopefully I went into enough detail that you now have a basic understanding of different tools and methods you can use when starting a fire.
In the near future, you can look forward to seeing a post on how to actually set up your fire.
Let us know if there’s anything else you’d like to see on the blog down below in the comments section!


