Bug Out Bag Essentials : What to Pack
Some people ask me, “Why a 72 hour bug out bag? Why not a week, or just a few hours?” Well, the reason is this: In a disaster scenario, like a flood, tornado, hurricane, or earthquake, first responders are likely going to be completely overloaded with large fires, collapses, etc. of large commercial buildings or heavy traffic downtown areas. It is highly possible you will have to fend for yourself for a minimum of 3 days. So the idea is to have enough stuff to keep yourself alive for 3 days and give you the necessary time and possibly tools to get what you need to survive longer if need be. It would be pretty cumbersome to have to carry around enough stuff to survive for a week or more when all you really need to do is survive long enough to find more water or food. Remember, in a disaster, you are going to have to rely on yourself and your family to stay alive, you can’t just wait around for emergency personnel to come do it for you…you may be dead before they can get there.
We figured one of the first things we would do is build a bug out bag and then put up a page on how we did it. Holy smokes did that turn out to be a big ordeal! As you can probably tell, most of the site has been about guns & ammo, and knives. Well, that is because building a survival bag has turned out to be a lot more in depth than we thought it was. The amount of research that has gone into it is kinda staggering considering we have pesky full-time jobs that get in the way of our preparations! That being said, I am going to write this article now to share what research we have already done so that you don’t have to go through the same pains we did! Hopefully you will find this information useful, but remember…this is NOT a blueprint! Everyone’s situations are different and your bag will most definitely be different than the next guy’s, so keep that in mind. Also, I will talk about a lot of different options so don’t expect to fill your bag with everything I mention here. It would probably take a truck anyway!
So in this Series, I am going to try and give you a good idea on where to start and how to get a bug out bag together. But again, there is not a “one size fits all” survival bag. It really needs to be tailored to you or your family’s particular needs. You should also consider your surroundings as well. I am in the country so if I need to leave without a vehicle, I may need to take poison ivy into account. If you are in the city, poison ivy may not be as important. That is just an example, but you get my meaning.
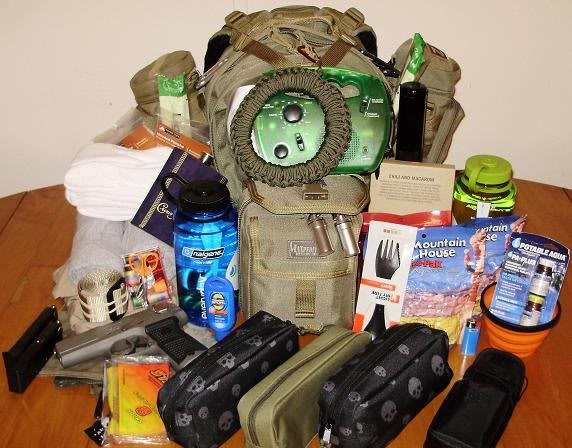
The most important things to plan for when building a bug out bag, is food, water, shelter, fire, first-aid, and getting rescued. I will delve into these first and then give you some other ideas you may want to consider if you still have room in your pack.
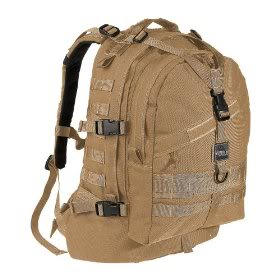
 Before you start buying stuff to stock a pack, though, you need a pack! I personally have the Maxpedition Vulture II. It is extremely durable, is really versatile as far as fitting, and has numerous MOLLE attachment points. I highly recommend this bag as a durable, yet affordable bug out bag.
To jump to a particular section click on one of the links below.
Well, that is all I have for now. I will update this page as I find more and/or better ideas for a bug out bag but this should get you well on your way to getting one going.
Let me leave you with this, though. If nothing else, grab that Wal-Mart bag out of the cabinet, throw a couple bottles of water in it, a flashlight, and maybe a tube of crackers and start with that! If an 8.0 earthquake hit your area right now and you had to get out fast, you can at least grab that bag and have a small meal and some light to get you through the next few hours. They may seem like nothing now, but if that quake hit, they would be the best damned crackers and water you ever had, and boy weren’t you smart for packing that flashlight?

